A rope bracelet is one of the few projects you can finish in a single evening and wear the next morning. It needs no workshop, no power tools, and no knotting experience at all — just a couple of metres of cord, a pair of scissors, and the patience to tie the same knot a few dozen times. That repetition is the point. The stitch used in most rope bracelets belongs to the same family of knots you will meet again on fenders, sail covers and tiller extensions, so a bracelet is a genuinely useful first lesson dressed up as a small piece of jewellery.
What follows covers the whole project: what to buy, how to size the cord, which knots to learn, and how to close the bracelet so it stays on your wrist. Expect the first attempt to take about an hour. The second will take twenty minutes.
What You Need to Get Started
Nothing on this list is specialist. If you have ever spliced a washing line or tied a parcel, you probably own half of it already.
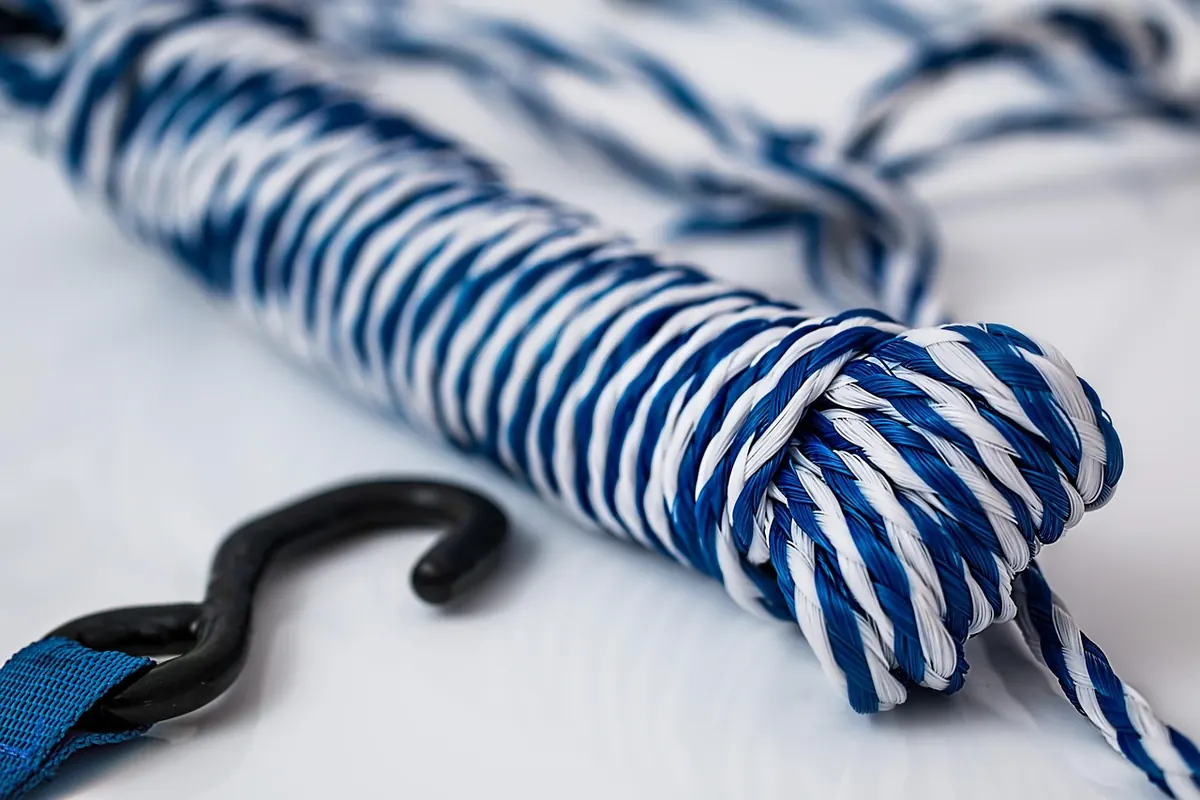
- Cord. Roughly three metres of 4 mm braided cord in total. For a single-colour bracelet, cut two working cords at 1.2 m each and one core cord at 40 cm. If you want a wider band, cut two core cords instead of one.
- Scissors. Sharp ones. A blunt pair will fray the cord and make the ends impossible to thread.
- Tape or a clip. Masking tape, a bulldog clip or a large safety pin, used to anchor the working end to a table, a clipboard or your trouser leg.
- A lighter. Only if you are using nylon or polyester cord, to melt the cut ends. Cotton gets a different treatment, described below.
- A button or a bead. Optional, but it makes a tidier closure than a bare knot.
- A tape measure or a strip of paper. For the wrist measurement.
Work at a table with decent light and a clear surface. Loose cord ends have a way of finding coffee cups.
Picking Cord and Getting the Fit Right
Braided cord is the right choice for a first bracelet because it holds a knot without slipping and does not flatten under tension. Polyester is the most durable option and takes a melted finish well. Cotton is softer against the skin and easier to undo when you make a mistake, but it stretches with wear and shrinks in the wash, so a cotton bracelet should be made slightly snug. Nylon is strong and cheap but slippery; you will need to pull each knot firmly or the braid will loosen as you work.
Avoid anything hollow or loosely twisted. It will collapse into an oval and the pattern will look uneven.
Measuring the wrist
Wrap the tape around the wrist you are making the bracelet for, snug but not tight, and note the number. Add 1.5 cm for comfort, then subtract the length your closure will add — typically 2 to 3 cm for a loop-and-knot fastening. A finished bracelet of about 18 cm suits many adult wrists, but measure rather than guess. If you are making it as a gift and cannot measure, aim slightly long: a bracelet that is a little loose can be adjusted with the closure, while one that is too short is scrap.
Two Knots, Learned in an Afternoon
The entire bracelet uses two knots. Learn them on a spare length of cord before you start cutting.
The overhand knot
Make a loop, pass the end through it, pull tight. That is it. You will use it once, at the very start, to create the loop that the closure fastens through.
The cobra stitch
This is the flat, ridged braid that gives rope bracelets their look. Two core strands are held taut while two working cords tie alternating half knots around them. The rhythm is: left cord over the core, right cord over the left tail and under the core, then up through the loop; pull snug. The next pass mirrors it, right cord over the core first. Left, right, left, right.
Two things make the difference between a tidy braid and a lumpy one. First, slide each finished knot up against the one above before tying the next. Second, keep the core strands flat and parallel rather than letting them twist around each other.
Step by Step Through the Bracelet
- Measure and mark the wrist size, then cut your cords according to the lengths above.
- Fold the 40 cm core cord in half to form a loop about 2.5 cm long. Tie an overhand knot in the doubled cord close to the loop. Tape the loop to your work surface so the knot sits just below the tape.
- Take one working cord, find its middle, and slide the folded middle under the core cord just below the overhand knot. Bring both ends through the fold and pull — this is a lark's head, and it locks the working cord onto the core.
- Repeat with the second working cord directly below the first. You now have four working ends hanging down and two core ends.
- Tie your first cobra stitch, then the mirror-image stitch beneath it. Check that the braid is sitting square and that the knots are tight against each other.
- Keep going, alternating sides, until the braid reaches your target length minus the closure. Stop and measure against your wrist rather than counting rows — cord thickness varies more than you would think.
Closing the Bracelet Neatly
When the braid is long enough, tie an overhand knot in the two core ends together, close to the last stitch. Trim the four working ends to about 3 mm and, if you are using polyester or nylon, melt them with the side of a flame until they just fuse. Hold them still while they cool or they will form sharp beads that scratch.
For the closure, thread a button onto the core ends and knot below it, or simply leave the knotted core as a toggle that pushes through the starting loop. If you use a button, check that it passes through the loop comfortably before you melt anything. Cotton ends should be whipped with a few turns of thread and a dab of clear glue rather than burned.
When Things Go Wrong
The braid spirals. You are tying the same side twice. Look back at the last two knots and mirror the next one.
The knots sit loose. Pull each stitch snug before starting the next, and give the whole braid a firm tug at the end to settle it.
The core bunches up. Keep the two core strands flat and side by side; tape them to the table if they keep wandering.
The bracelet came out short. The closure always eats more length than expected. Measure the finished braid against your wrist at least three rows before you think you should stop.
Cotton bracelets can be rinsed in fresh water after a day at the beach and dried flat, away from direct sun. Polyester shrugs off salt water, but check the knots before swimming; a loose closure is easy to fix on the beach and annoying to lose at sea.
Keep the First One
Your first bracelet will probably be a little uneven at the start and a little tight at the finish. Wear it anyway. It is a record of the moment the cobra stitch stopped being a diagram and became something your hands could do. Keep the leftover cord in a drawer, and the next time you have half an hour, make a second one in a contrasting colour. The third will take fifteen minutes, and by then you will be eyeing the lifelines on the boat with a measuring tape in hand.
Photo: stevepb / Pixabay