Docking Lines Checklist: 10 Knots and Cleats Every Sailor Should Know
Docking is rarely the calm part of the day. The wind is seldom dead ahead, the slip looks narrower from the helm, and the person on the foredeck is usually working with cold hands and a line that wants to kink. Good docking knots buy you time. They let you hold a load, ease a line, and release it without a struggle.
What follows is a working checklist, not a knot museum. Ten skills cover most mooring situations: four basic lines, a handful of trustworthy knots, and the cleat habits that keep a line from slipping when the boat surges.
Before the Knots: Know Which Line Does What
The Four Basic Lines
Knot choice depends on where the line leads and what you need it to do. On most boats, docking lines fall into four jobs.
- Bow line. Leads forward from the bow to a dock cleat or piling. It stops the bow from drifting away and helps control the boat’s angle in the slip.
- Stern line. Leads aft from the stern to the dock. It keeps the stern from swinging out and can help pull the boat back into position or hold it off the dock.
- Spring line. Runs forward or aft at a shallow angle from the boat to the dock. A fore spring stops the boat from sliding aft; an aft spring stops it from sliding forward. Springs are the lines that do the quiet work when wind or current pushes along the slip.
- Breast line. Runs nearly perpendicular to the boat and holds it close to, or slightly off, the dock. Breast lines are often used with springs to keep the boat parallel and steady.
A knot is only as good as its lead. A perfect cleat hitch on a line that chafes across a stanchion, or a bowline pulling at a harsh angle through a chock, will still fail. Before you worry about the knot, look at the whole line: where it rubs, how much stretch it has, whether it can be adjusted under load, and whether the tail is long enough to reach a second cleat if the first one is crowded.
Good docking is mostly preparation. The knot is the last small decision in a long series of small decisions.
The Ten Skills
1. Cleat Hitch
The cleat hitch is the default docking knot for a reason. Lead the line to the cleat, take one full turn around the base, then make a figure-eight over and under the horns. Finish with a locking hitch so the line lies flat and the tail exits cleanly. The goal is not a tower of turns. A neat, flat cleat hitch can be eased under load and released quickly, which matters when the wind shifts or the boat surges.
2. Two-Turn Cleat Hitch for Heavy Loads
In strong wind, a heavy boat, or a short-handed situation, take two full turns around the base of the cleat before finishing the figure-eight. The extra turn spreads the load and gives you more control when easing the line. It is not a different knot so much as a variation, but it is a useful habit when the strain is high and the person on the dock is waiting.
3. Bowline
The bowline makes a fixed loop that will not tighten under load. Use it when you need a loop around a piling, a ring, or a cleat that is too crowded for a hitch. A bowline is easy to inspect and easy to untie after a heavy pull, but it can shake loose if it is left flogging with no load. Keep the tail long, dress the knot so it sits fairly, and check it after the boat settles.
4. Round Turn and Two Half Hitches
This is the workhorse for taking strain around a piling, ring, or bollard. The round turn takes the load first, so you are not fighting the full weight of the boat while you tie the hitches. Then two half hitches secure the working end. It is ideal for a stern line, a spring line, or any line that may need to be adjusted after the first rush of docking is over.
5. Clove Hitch
The clove hitch is quick around a piling or rail, and it is useful for temporary lines, fender lines, and light-duty securing. It is not the best choice for a line that will surge or change direction repeatedly, because it can slip or bind. If you use it for docking, back it up with a half hitch or a stopper knot and check it after the boat has had time to move.
6. Rolling Hitch
The rolling hitch grips along another line, a spar, or a piling and is useful when you need to take strain off a winch or add a temporary spring. It is a handy problem-solver when a line is already loaded and you need to transfer the pull without losing control. Learn to dress it so the turns lie neatly in the direction of the load; a rolling hitch that is tied backward is just a slippery knot with a confident name.
7. Anchor Bend
The anchor bend is a secure hitch for attaching a line to a ring, shackle, or anchor. It is useful on a dock with rings instead of cleats, and it is a good choice when the line will be left in place and may take a steady load. Finish it with a half hitch or seizing if the line will be left unattended. It is compact, strong, and less likely to jam than a knot that has been pulled tight for days.
8. Sheet Bend
The sheet bend joins two lines together. It is not a primary docking knot, but it earns its place when a line is too short or when you need to extend a spring to reach a distant cleat. Use lines of similar diameter when possible, and double the sheet bend for slippery or very different sizes. It is quick to tie and easy to inspect, which makes it a practical backup skill on a crowded dock.
9. Mooring Hitch or Slippery Hitch
A quick-release hitch is useful when you need to secure a line temporarily and release it from the boat without stepping onto the dock. Use it for short stops, dinghy lines, or a holding line in calm conditions. It is not a knot for an unattended boat overnight, and it is not a knot for heavy load. The advantage is speed; the responsibility is knowing when speed is not enough.
10. Figure-Eight Stopper Knot
The figure-eight stopper knot keeps a line end from running through a block, fairlead, or cleat. It is simple, bulky, and easy to untie. Tie it in the tail of sheets, halyards, and docking lines where the end could otherwise escape. A stopper knot is cheap insurance, especially on a dark evening when the last thing you need is to reave a line through a block again.
Cleat Habits That Prevent Surprises
A cleat hitch fails more often because of poor habits than poor knot knowledge. Keep the turns flat and uncrossed. Avoid riding turns that bury the line under itself. Lead the line to the cleat at a shallow angle so the load is not pulling upward against the horns. Leave a tail long enough to tie off elsewhere if needed, and do not stand inside a bight or wrap a line around your hand while the boat is moving.
- Take the load first. Use a turn around the base of the cleat or a winch to control the strain before you finish the hitch.
- Check the lead. A line should run fair through chocks and avoid sharp edges, stanchions, and hot exhaust parts.
- Leave room to adjust. A neat cleat hitch can be eased; a jammed pile of turns cannot.
- Look after tide and surge. Lines that were right at the dock may be too tight or too slack an hour later.
A Practical Docking Sequence
Prepare lines before the boat enters the slip. Assign one person to the bow line, one to the stern line, and have a spring ready to hand. Lead lines outside the lifelines so they can be passed cleanly to the dock. Approach slowly, make first contact with a spring line when possible, and let the engine hold the boat while the lines are set. Do not expect a knot to stop a moving boat; the knot holds the boat once the line and cleat have taken the load.
Once the boat is secure, walk the dock and check every line. Look for chafe, loose tails, and cleats that are sharing too many lines. Adjust for tide, current, and the boat’s movement. Then tidy the tails so they cannot fall overboard or trip someone on the dock. A good docking job ends quietly: the boat sits still, the lines are easy to read, and nothing is straining harder than it needs to.
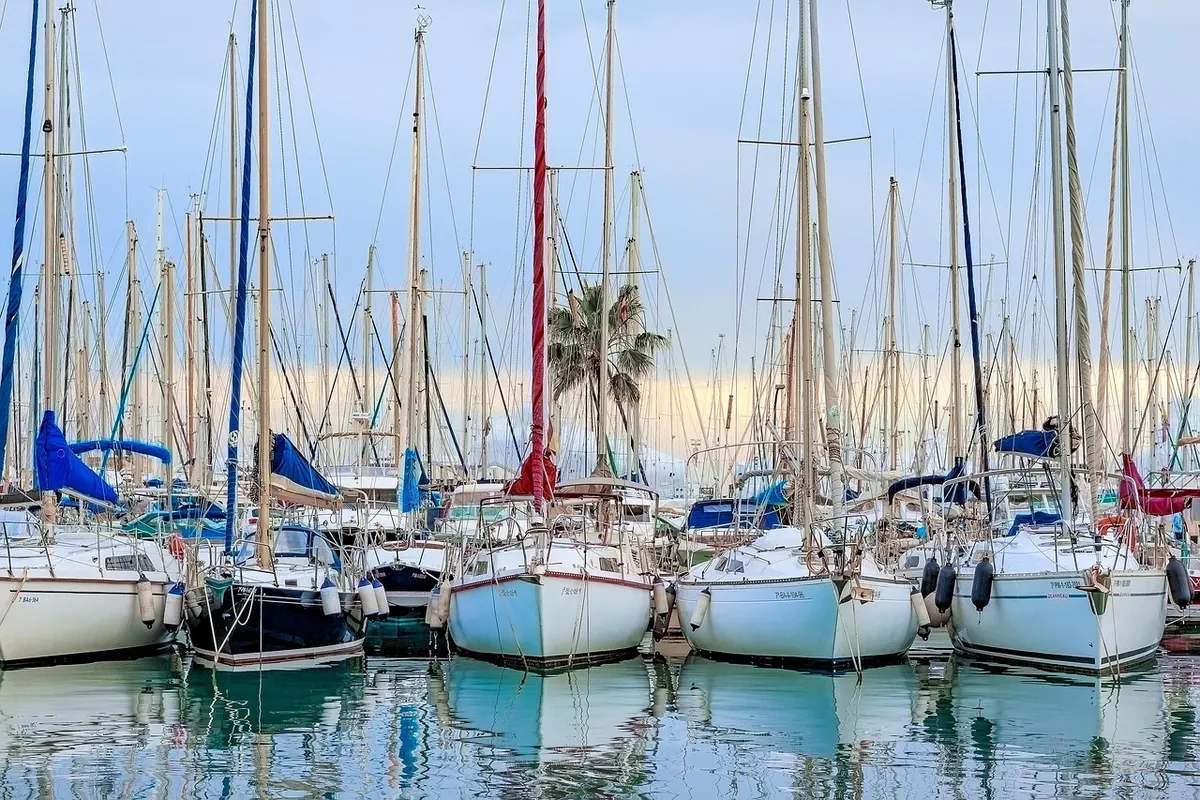
Photo: Pietrofotografie / Pixabay