Two knots sit in almost every sailor's toolkit for the same job: stopping a line from running out through a block, a fairlead, or a cleat. One is the smallest knot you can reasonably tie. The other is a little bigger, a little more symmetrical, and — for most jobs on deck — a little smarter.
The overhand and the figure eight are cousins. Both are stopper knots, both take seconds to tie, and both can be got wrong in small ways that only show up under load. Choosing between them comes down to three questions: how much bulk you need, how hard the line will be worked, and whether you'll ever want to untie it with cold hands in the dark.
What a stopper knot actually does
A stopper is a backstop. It lives at the very end of a rope and its job is to be too big to pass through whatever the rope runs through. On a halyard, it stops the tail disappearing into the masthead sheave. On a sheet, it stops the line escaping the block when the sail flogs and the rope goes slack. On a dinghy mainsheet, it keeps the end from sliding through your hand at exactly the wrong moment.
That's the whole design brief, and it explains why size matters more than elegance. A stopper that's only marginally wider than the hole it's guarding will eventually squeeze through, especially when the line is wet and the load comes on suddenly. It also explains why a stopper knot is never a load-bearing knot. It's a fence, not a foundation.
The overhand knot: small, quick, stubborn
Pass the working end over the standing part, around, and back through the loop. That's it. The overhand — sometimes called the thumb knot — is the smallest useful stopper you can tie, and it has probably been tied more times than any other knot in history, mostly on shoelaces and parcels.
Where the overhand wins
It's the right choice when you want a low-profile lump and nothing more. Tying off the end of whipping twine, finishing a seizing, locking a temporary whipping on a frayed line, or putting a safety knot behind a bowline so the tail can't creep back through — the overhand does all of that with almost no bulk and no fuss. In small-diameter cordage, where a figure eight would be a clumsy fist of rope, the overhand is tidy.
Where it lets you down
The overhand's fatal flaw is that it jams. Load it hard and the rope's own friction welds it into a hard little pellet that resists fingernails, marlinspike and bad language in equal measure. It also bends the line sharply around itself, which concentrates stress in one small area and costs more of the rope's strength than a more generous knot would. And because it's so small, a determined sheet in a big block can sometimes worry it through. It's a stopper, but not a generous one.
The figure eight knot: the default on deck
Make a loop, take the working end around the standing part, and pass it back through the loop from the same side it came. Dress it so the two strands lie parallel and the knot forms a neat, slightly chunky "8".
The figure eight is bigger, more symmetrical, and — crucially — easier to untie after it's been loaded. The extra turn spreads the bend over more rope and gives you something to work against when you finally pick it apart. On a boat, that difference matters every single time you shorten a halyard or re-reeve a sheet. A knot you can undo with your fingers at the end of a wet, cold watch is worth the two extra seconds it took to tie.
It's also the better shape for stopping at hardware. The bulk sits proud of the line, so it meets a block cheek or a fairlead squarely instead of slipping into the gap. That's why it's the near-universal choice on halyard tails and sheet ends.
Head to head
- Bulk: Figure eight wins clearly. If the rope must not pass through a particular fitting, the eight is the safer bet.
- Speed: Overhand, slightly. Both are seconds, but the overhand has one less move.
- Security under load: Figure eight, because it resists rolling and capsizing better in stiff, slippery line.
- Untying after loading: Figure eight, by a wide margin. The overhand will fight you.
- Effect on rope strength: Both reduce it at the knot. The overhand's tighter bend is the harsher of the two.
- Profile: Overhand, if you need the knot to stay out of the way — inside a cover, under a whipping, behind another knot.
- Slippery modern lines: Neither is ideal. Dyneema and similar high-modulus ropes are slick enough that any stopper can creep; leave a long tail and consider a double overhand or a seizing.
Best use cases
If you're deciding in the moment, this is the shorthand:
- Halyard tails: figure eight. It stops at the sheave and comes apart when you need to end-for-end the line.
- Jib and mainsail sheets: figure eight on each end, tied close enough to the block that the line can't run out but far enough that the knot never sits in the block under load.
- Dinghy mainsheet and control lines: figure eight, every time.
- Backup behind a bowline or sheet bend: overhand. It sits snug against the parent knot without adding clutter.
- Whippings, seizings, and twine: overhand. Small is the point.
- Mousing, lashings, and temporary ties: overhand, unless the line will be heavily loaded.
- Anchor rodes and mooring lines: neither, in the working part. These belong on a cleat or a proper splice, with a stopper only as a final backstop.
Tying them well: the details that matter
- Leave a real tail. Roughly a hand's width beyond the knot — around 10 cm on most boat rope. A stubby tail works loose; a generous one tells you at a glance that the knot is intact.
- Dress the knot. Before you load it, pull each strand so they lie flat and parallel rather than crossing in a tangle. A dressed figure eight is smaller, stronger and easier to undo than a loose one.
- Set it by hand. Tighten firmly, then check the shape. If it looks like a random lump rather than a recognisable 8, retie it.
- Check the clearance. Position the stopper so it lands against the block or fairlead, not inside it. A knot jammed into a sheave chews the rope and can split the block cheek.
- Match the knot to the hole. If the fitting is large and the line is thin, step up to a double overhand or a stevedore knot for extra bulk.
Which should you use?
For almost everything that happens at the working end of a running line on a sailboat, tie the figure eight. It's big enough to do the job, it survives load without welding itself shut, and it's the knot your crew will recognise across the cockpit. Make it your default and you'll rarely regret it.
Keep the overhand for the small, tight jobs: whipping, seizing, and backing up a knot that's already doing the real work. It's a superb little knot in its place — its place just isn't the end of your jib sheet.
And whichever you tie, look at it once before you walk away. A stopper knot is cheap insurance, but only if it's actually there, properly dressed, with enough tail to prove it.
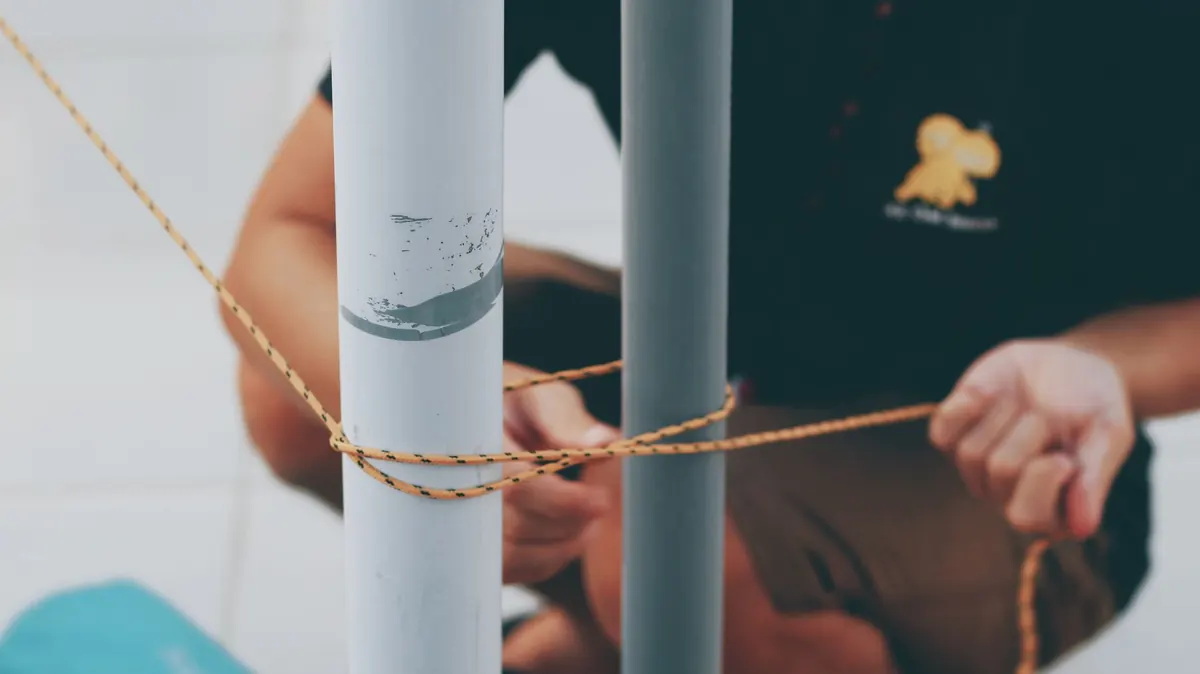
Photo: Bich Tran / Pexels